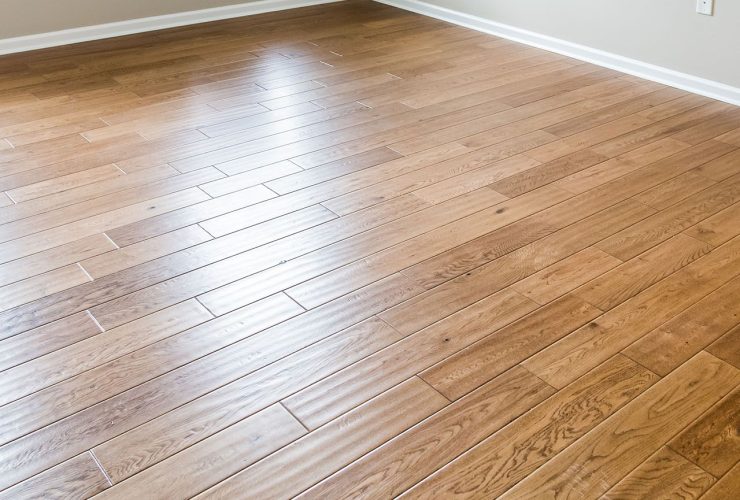
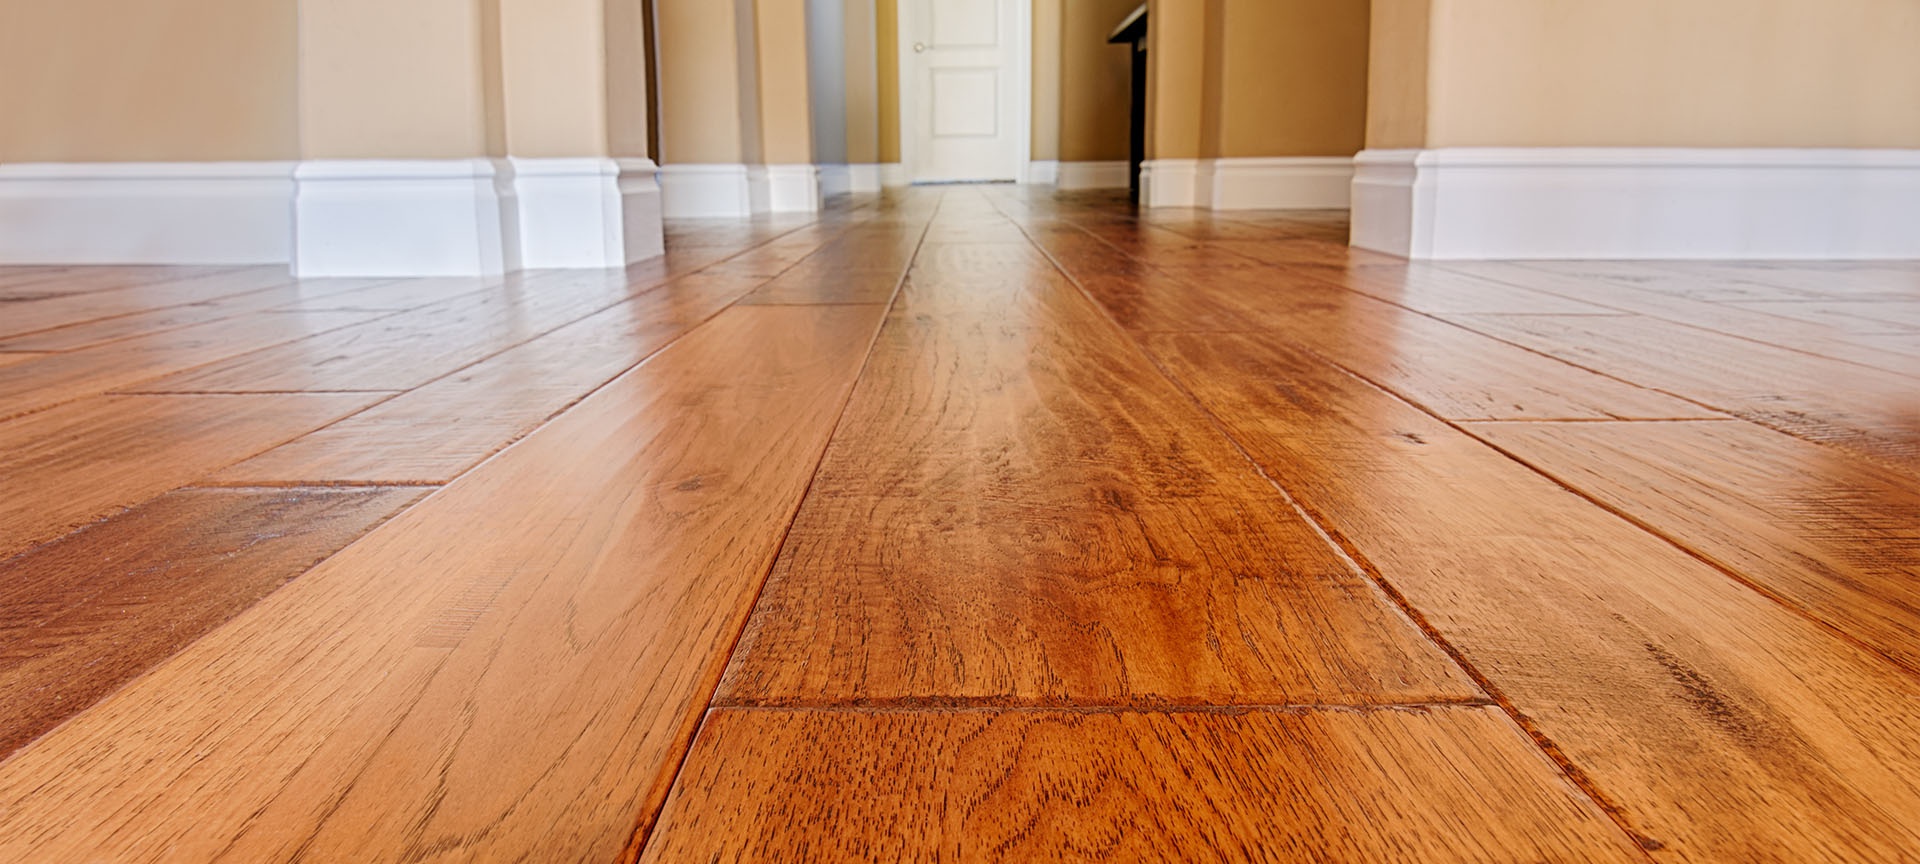
Can You Change The Colour of Prefinished Hardwood Floors?
You’re likely reading this because you want to know if you can change your prefinished hardwood colour. But first, let’s do a brief throwback to days before prefinished hardwoods.
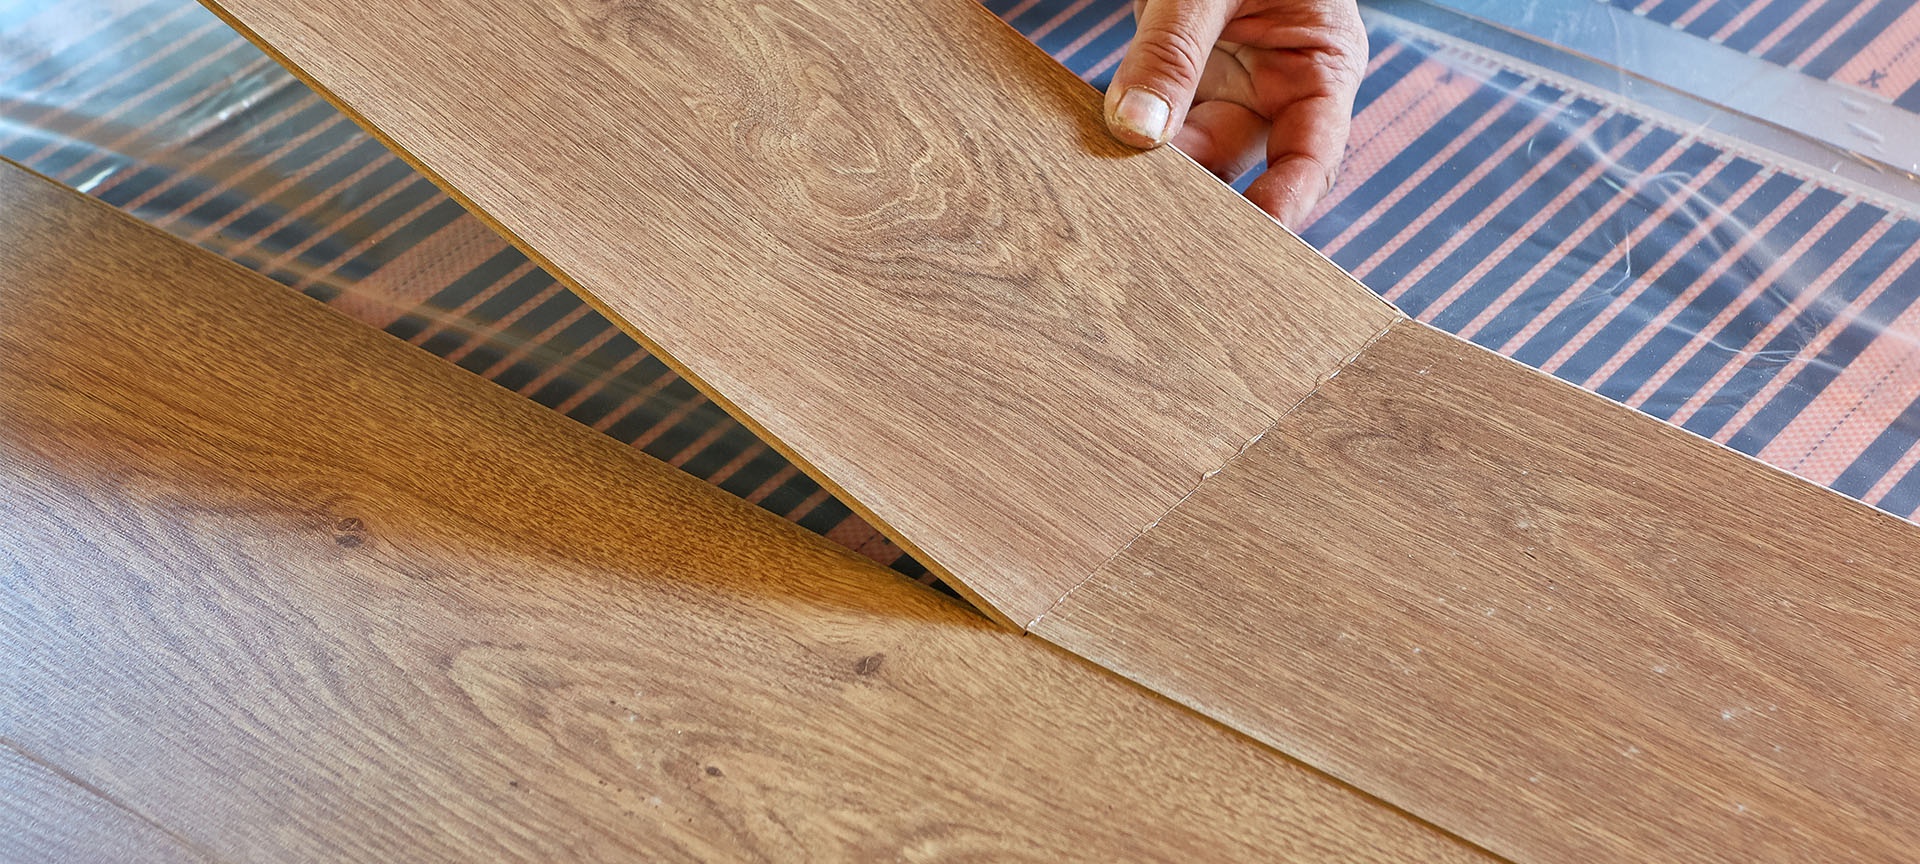
Before, hardwood flooring installation usually starts with unfinished planks. After that, the planks are stained and finished using a protective surface layer. But since the advent of prefinished hardwood in the 1940s, there’s been a change.
Prefinished hardwood is now a major option in contemporary hardwood flooring. But the question of whether you can change its colour after installation is one we get frequently.
Yes, it’s possible to change the colour of prefinished hardwood floors after installation. This blog will discuss how to change the colour of prefinished hardwood floors. Here’s what you need to know
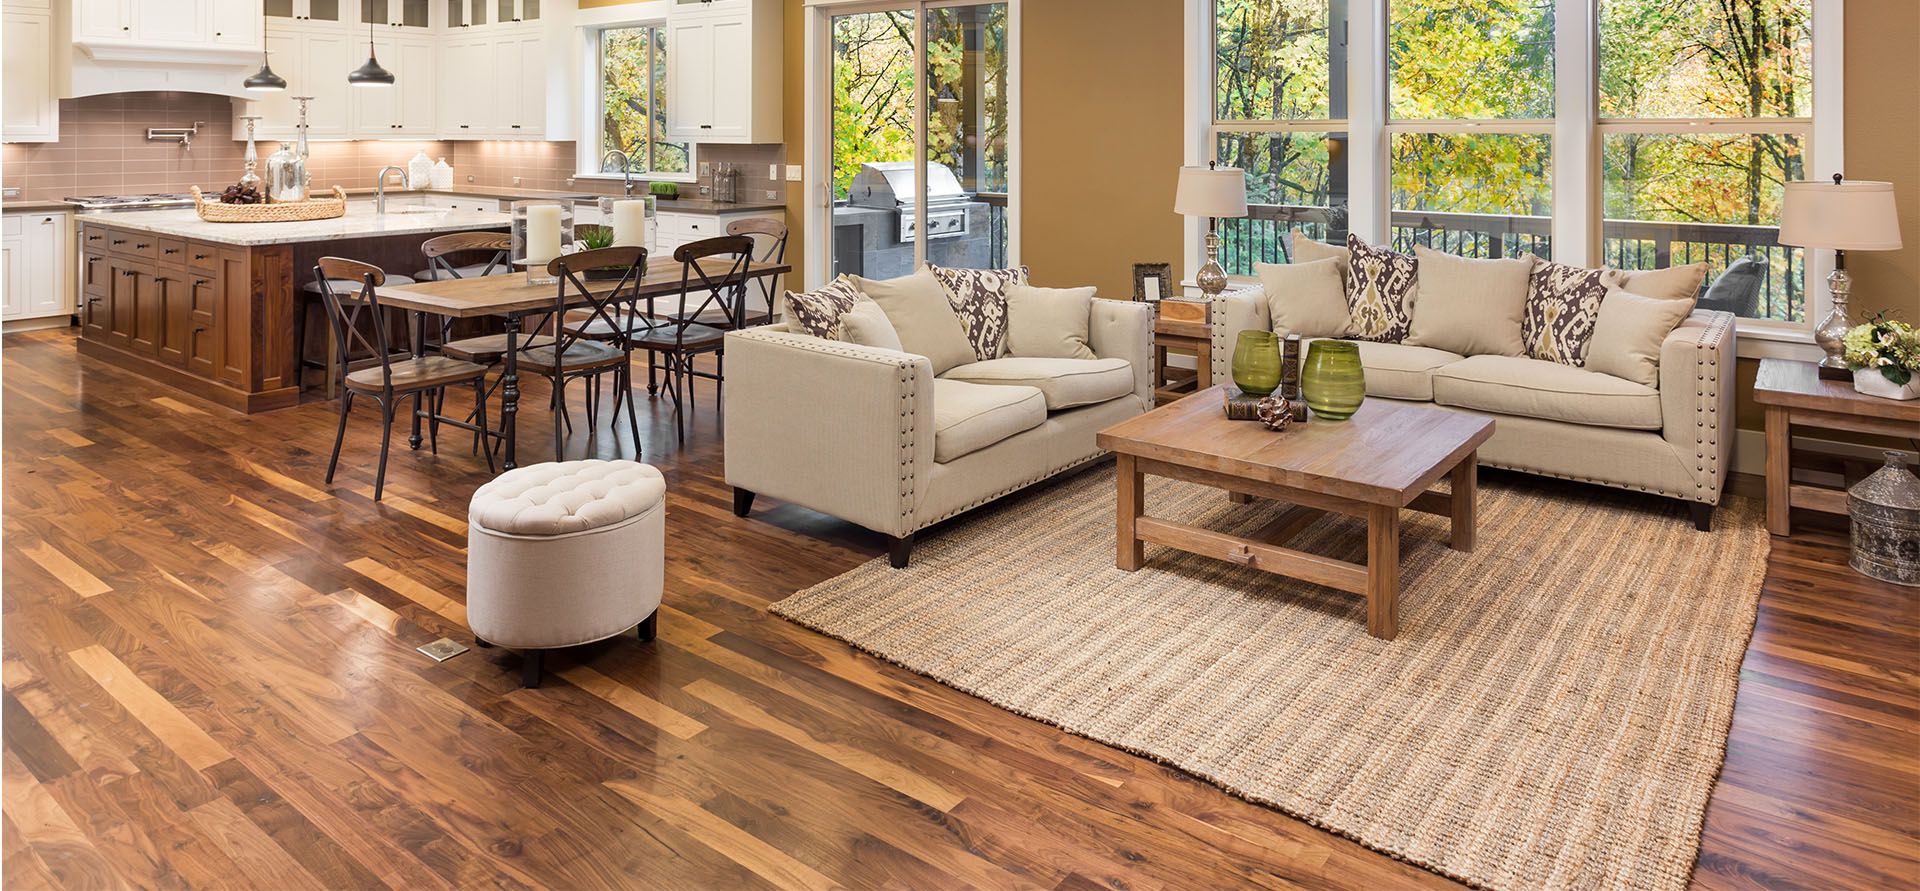
Why Prefinished Hardwood Floors are Great For You (Regardless of Colour)
You likely have questions about whether it’s possible to change the colour of prefinished hardwood floors because you’re trying to make a buying decision. Here’s why we think installing prefinished floors in your Ontario home or office space is always a good idea.
Odourless Installation
You’re sure of an environment free of stench that relates to finishing a floor within your residence. The odours have been duly taken care of within the factory premises.
Therefore, your flooring arrives in your vicinity smell-free and ready for installation. If there’s any smell, it’ll be wood perfume.
Better Coating
Unlike coatings finished on-site, a pre-finished urethane coat affords you a denser and more even coating. In addition, factory finishes are extra-strong layers that are scratch-resistant.
Quicker Completion
Immediately after installation, you can walk on the prefinished hardwood flooring. Also, furniture and other belongings can move in. But onsite-finished flooring doesn’t afford you that liberty.
On-site finished hardwood flooring makes you wait hours to move in. You may even have to wait for days if you do multiple coats. But prefinished hardwood flooring saves you all the hassle.
No Need For Sanding
Sanding a floor is an experience you want to avoid due to its filth potential and health implications. It can get so dusty that your whole house can experience an immersion in the wood waste.
But for prefinished hardwood flooring installation, you need no sanding. Every form of sanding is at the factory.
The Ease of Purchase
Nowadays, pre-finished flooring is in very high demand. Therefore, you may not have to look too far to make your purchase. Internet technology makes it so easy to purchase from the comfort of your home.
The reverse is the case with site-finished flooring. You’ll usually get it only from big flooring stores and likely on special orders.
Meanwhile, let’s discuss what you should know before changing your prefinished hardwood colour.
Related Article: All You Need to Know About Bespoke Wood Flooring
Things to Know Before Changing Prefinished Hardwood Colour
At some point, your hardwood flooring may need a facelift. And that’s fine. But you shouldn’t just delve into changing your prefinished hardwood colour.
You need to understand that it’s both time and capital-intensive to refurbish your prefinished hardwood flooring. It also requires technical know-how to change prefinished hardwood colour.
Inadequacy in any of the above areas can result in poor flooring refinishing. Therefore, the following are crucial factors you must consider before changing your prefinished hardwood colour.
Calculate Potential Expenses
Usually, it costs between $1200 to $2000 to change a prefinished hardwood colour. Also, these prices may vary depending on your location and who’s doing the refinishing.
For example, refinishing your prefinished hardwood floor by yourself means you’ll likely spend less. But enlisting the services of a professional will come with higher expenses.
In addition, other expenses to consider include the prices of:
- Sander
- Safety gear
- Additional equipment
- Stains
- Other finishes.
Check Damage Intensity
Sometimes, your prefinished hardwood floor may require more than just a colour change. For example, an utterly worn-out floor will need comprehensive attention. Additionally, you may need an electric sander power to extract the faulty layer of your prefinished hardwood flooring.
On the other hand, hardwood flooring without significant damage will save you steps like intense sanding. Then, you’ll only need regular sandpaper to prepare your floor for refinishing.
Furthermore, inspection will let you know the level of scratches and gouges in your hardwood. Then the knowledge will help you determine the concealing methods to choose.
For example, mild scratches and gouges will easily conceal when you use resin-based stain markers or colourants. But you may need wood putty for intensive scratches and gouges.
What Type of Finishing Do You Desire
Many finishes are available for changing a prefinished hardwood colour. And each has its durability level and appearance. More specifically, the three forms of finishes include the following:
- Polyurethane: You’ll find polyurethane in two versions/options. They are water-based and oil-based. Unlike oil-based polyurethane, water-based polyurethane has less toxicity and dries faster.
- Varnish: You’re right on point with varnish if you’re looking for a finish that provides your hardwood floor with a glossy and sheeny appearance. Varnish serves as an enhancement for hardwood grain and an external shield for the wood.
- Sealer: Usually, sealers are clear, pigmented, or translucent. They aren’t mere colour enhancers but can darken wood colour. Mainly, sealers are to protect wood flooring against damage.
You can buy prefinished hardwood flooring finishes from sellers of prefinished hardwood planks. If they don’t have it, they can direct you to where to get it.
Establishing and Observing Good Cleaning Routine
Inevitably, sanding will produce a mess of dust in your apartment. Therefore, you need a working vacuum cleaner to clean up after work.
Also, you must adopt good cleaning habits to help maintain your new finishing afterwards. You’ll have to sweep or vacuum up to thrice a week to kick against settling dust. You may need to mop too, but that can be just once a week.
Timeframe Of Refinishing Completion Should Not Extend Unnecessarily
The expanse of the area where you’re to change its hardwood colour will usually determine the timeline of refinishing.
But most times, sanding and sealing shouldn’t go beyond the same day. Sandwiching these actions into a day will ensure that moisture doesn’t accumulate in the freshly sanded wood.
In addition, the seal drying/finish shouldn’t go beyond 1-2 days.
Room and Floor Need Due Preparation for Refinishing
You may need to clear your refinishing site of all your belongings, not just to give space for work. But to also avoid dust stains from sanding actions. Things like furniture, curtains, and electronic gadgets are examples of things you may want to move out before refinishing.
Also, ensure ventilation is smooth before refinishing process initiation. The free airflow will help fight toxins that may emit from your floor’s old chemical coatings.
Should You Hire A Professional?
Honestly, you should hire a professional if you’ve never had to change prefinished hardwood colour. It is the best way to change the colour of prefinished hardwood floors and get superb results.
The process of refinishing a prefinished hardwood colour is not only labour intensive. But it is also time-consuming. Apart from these two factors, you’re also liable to make mistakes that pros will never make.
However, you may be meticulous enough to change your prefinished hardwood colours yourself. Therefore, we’ll take you through DIY processes up-next.
DIY Steps to Changing Your Prefinished Hardwood Colour
Deciding to carry out the refinishing of your prefinished hardwood is a bold step. And to do it perfectly, you need specific pointers. The following are steps that’ll carefully guide you through the processes.
Step 1
Removal of shoe base moulding is the first step to refurbishing your prefinished hardwood.
You’ll particularly need a pry bar, gloves, and knee pads for this step. The shoe base moulding is a delicate lining that attaches where the floor meets the wall.
Its fragility means you need to handle it carefully so it doesn’t snap. You can start by using the pry bar to detach it.
While pulling out the shoe mould, ensure you protect your baseboards with a piece of scrap wood. Also, you’ll find it beneficial to tag each wood piece as you work. The procedures will feel easier when you’re done with the wood refinement.
PS: You can skip step 2 if you don’t have base moulding.
Step 2
You’ll need to fix the creaks and squeaks as you proceed to change your prefinished hardwood colour. You’ll need tools like 8d finishing nails, wood putty, a sliding blade, and a hammer here.
Furthermore, inspect the face of your hardwood floor for any loose boards, squeaks or creeks. Additionally, drive the 8d finishing nails into a floor joist.
In addition, hammer any protruding nails completely. Finally, use your wood putty to fill the holes by sliding the putty knife over the wood.
Step 3
Here, you’re to sand the floors. And you’ll be significantly needing the drum sander.
It’s a beneficial act if you rough-sand your floors just after the wood putty dries up. The drum sander does the job perfectly, but you may have to rent or buy one if you don’t have it already.
Furthermore, ensure you change the drum sander’s abrasive belt every 250 square feet. In particular, you should start by using a 35-40 grit sandpaper belt.
Then slowly navigate to a 60 grit. Further, slide steadily into an 80 grit and end the movement on 100 grit.
For the best results, begin with coarse sandpaper and work your way up to smooth sandpaper. Duly following these processes will help you discard stains and scratches. And in addition, you’re on course to a beautiful result regarding changing your prefinished hardwood colour.
Step 4
Here, you’re to sweep and vacuum between each sand level. As such, you’ll need brooms, dustpans, or a vacuum cleaner.
You must sweep or vacuum in-between sanding. This action ensures that every form of dust or debris from previous sand doesn’t interfere with your eventual results.
Step 5
The next step in changing your prefinished hardwood colour is sanding the edges and corners. Here, you’ll need a sanding edger.
You may need to test yourself with a sanding edger on scrap wood before moving to your actual floor. This test run will help you realise how the tool works.
Continue by sanding nooks and crannies of your hardwood floors. These parts include all the edges, closet floors, and every other part that’s difficult to access usually.
Also, ensure you replicate the exact grade you use with the drum sander while using the edger. Then, recycle the process and steadily work your way to the smoother grain sandpaper. Finally, don’t forget to vacuum or sweep between sands.
Step 6
The next step to refurbishing prefinished hardwood flooring is screen sanding. First, you’ll require a floor buffer fitted with a fine-grit screen pad.
You’re likely thinking, why do you need to sand this much? But it’s honestly worth the investment. If you follow through, your hardwood floors will look like a new installation with its final results.
Scraping your entire floor with a floor buffer will smoothen rough patches that initial sands may have left. Additionally, the floor buffer will eliminate all lingering scratches.
In a nutshell, this machine does a sort of tying sanding loose ends to improve the potential outlook.
Step 7
The next step towards changing the colour of prefinished hardwood floors is dirt removal. The tools you’ll be needing here include a tack cloth and vacuum.
It’s essential you comprehensively sweep your floors before heading into the last parts of your floor refinishing.
The tack cloth comes in to help ensure every part of your floor is dust-free. Afterwards, you can go ahead to staining and finishing your floors.
Step 8
The next step is staining your hardwood floors. You’ll need an interior wood stain, a foam applicator pad, and a rag.
Before you start staining, divide your work area into parts. So work on the parts one after the other Specifically, try moving through the floors with a measurement of 3-4 feet at a time.
It’s crucial that you consistently stain your floor in line with the wood grain. Additionally, use the rag to wipe off any access stain as you proceed in the staining process.
Step 9
This step is the last in changing your prefinished hardwood colour.
Here, you’ll need a wood finish and a lambswool applicator. The wood finish is to go over your floors after the stain is dry. And we recommend an oil-based polyurethane wood finish due to its durability.
You may be thinking, where does the lambswool applicator come to play? Relax. You simply use it to apply the wood finish.
We advise that you lightly sand the floors again once it dries up. And do this up to 2-3 times. You’ll get the best results this way.
Finally, keep the lambswool applicator in a tight plastic bag and reuse it when next you want to coat.
Maintenance Tips After Changing Prefinished Hardwood Colour
Once you refinish your floor, it practically looks like a new installation. But you need to care for your prefinished hardwood floor after changing its colour.
The care has to be deliberate, gentle, and consistent. Or else it’ll soon get worn out again.
New finishings usually take up to 7 days to dry and stick completely. Heavy foot traffic, dust, and dirt may easily cause the surface to scratch or become dull during this early finishing phase.
Therefore, here are maintenance tips to observe after changing the prefinished hardwood colour:
- Completely stay off the floor 24 hours after refinishing. This restriction is for both living and nonliving things.
- After 24 hours, you can start walking on the finished floor. But traffic should be very minimal.
If possible, wear socks to walk on the floor. And don’t allow your pets with claws to scamper around on it. Adhere to this regulation for the next week.
- Keep windows and blinds shut through the first 24 hours. This close up is to prevent sunlight from damaging the freshly finished flooring. The sun can do no damage once the finishing is completely dry.
- Sweep with a very soft mop for the first week. Don’t mop with water, don’t vacuum clean, and don’t use cleaners on it during these seven days.
These limitations are because the cleaners and cleaning modes can damage the floor since it’s not completely dry.
- You can start regular cleaning after one week. And kindly avoid using soap and water on the hardwood floor.
- Don’t allow spillages or liquids to linger on the hardwood floor once you notice them. Clean them immediately. They can soak into the wood and gradually start causing damage again.
Related Article: How Much Does Chevron Hardwood Flooring Cost?
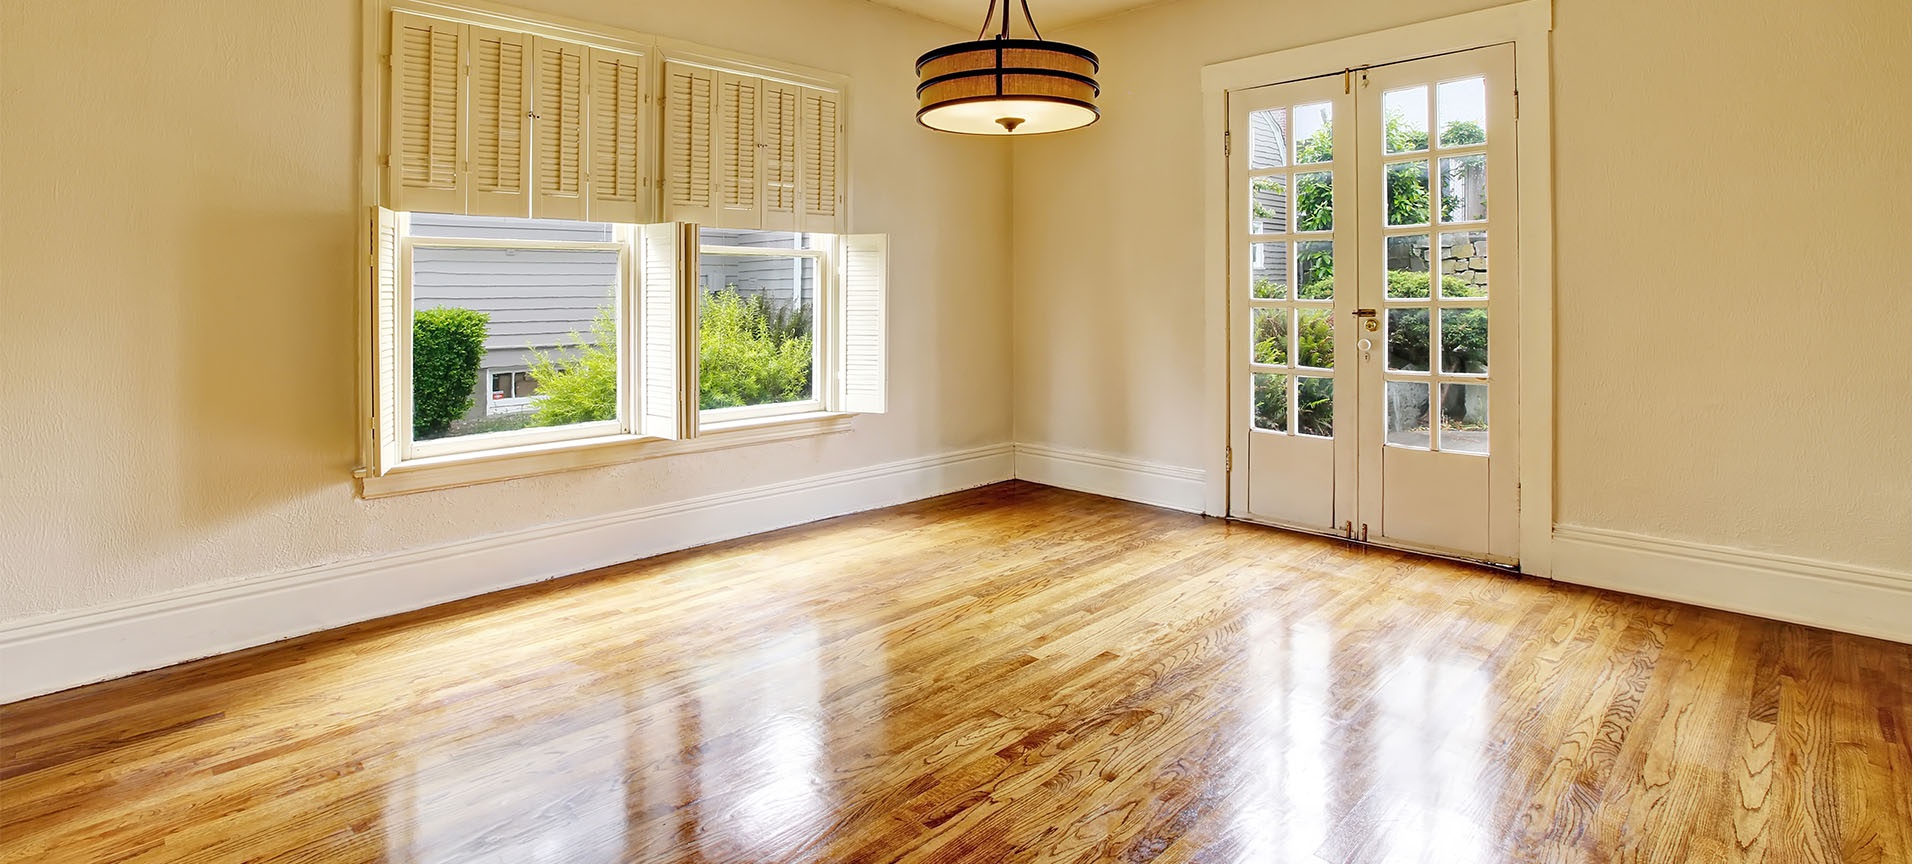
Final Thoughts
You’ll feel proud of yourself once you can install your hardwood floor. It’ll come out so beautifully, especially if you did the refinishing by following the steps in this article. Also, we hope you now feel comfortable knowing you can change your prefinished hardwood colour.
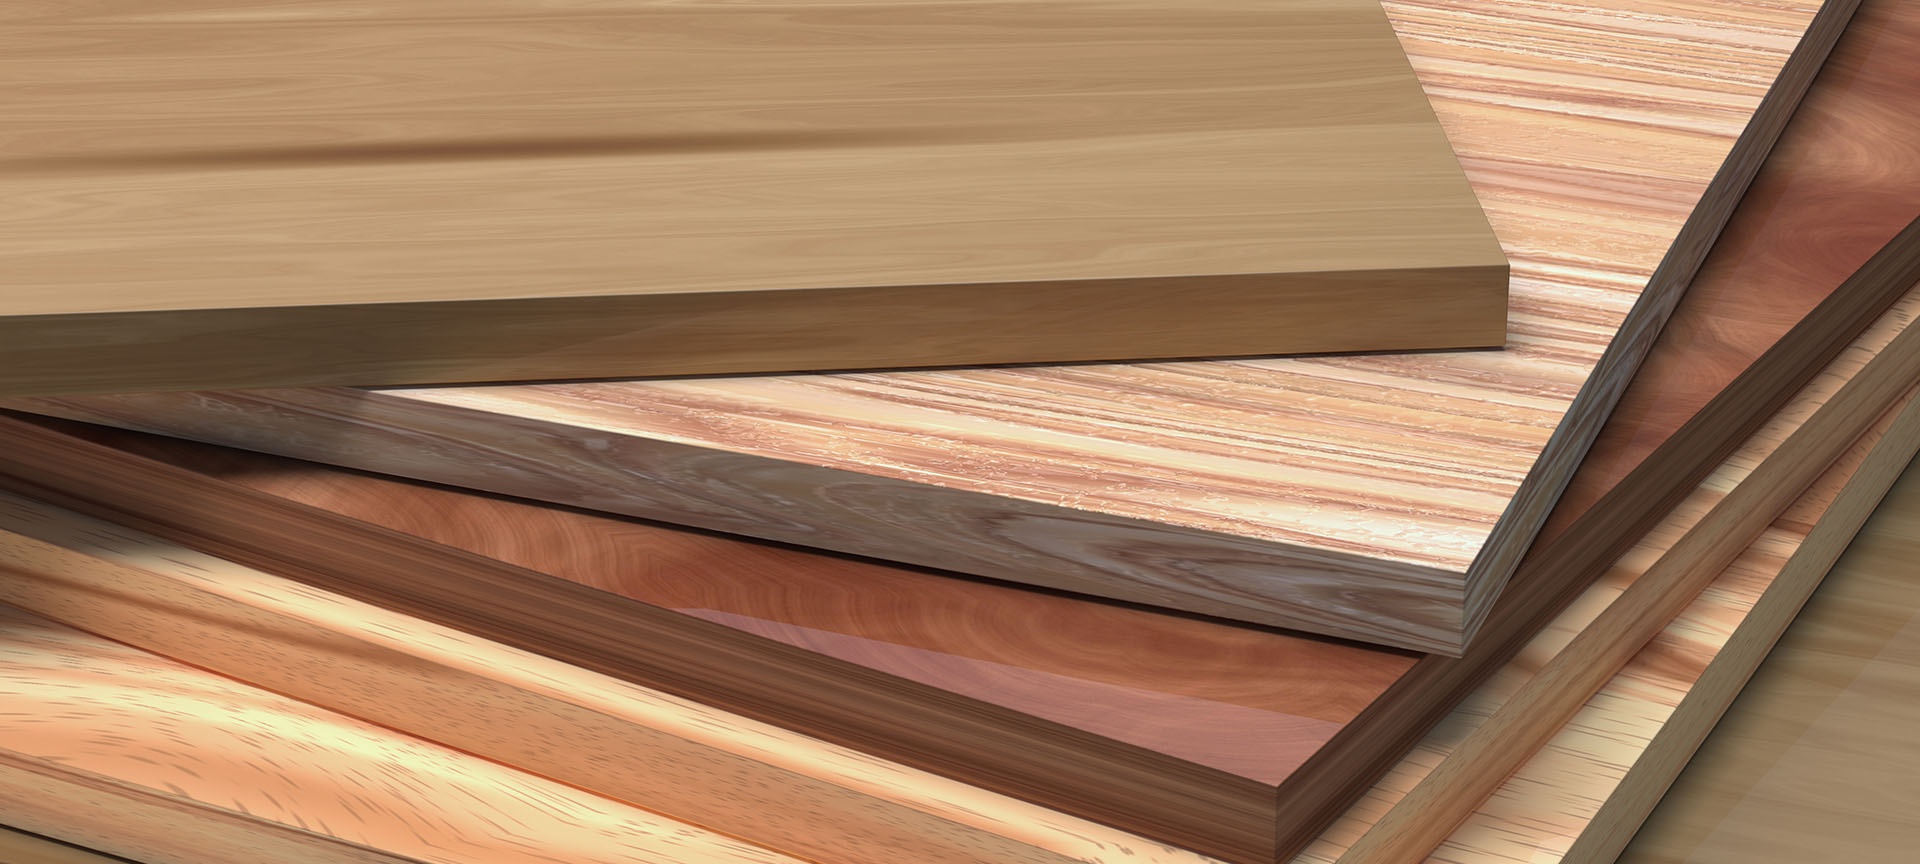
The last thing to consider is quality. There are different grades of prefinished hardwood floors. And every property owner prefers top-quality prefinished hardwood floors that’ll remain attractive for a long time.
That’s why we at Three Trees Flooring go the extra mile to provide residents in Ontario and the rest of the GTA with the best prefinished flooring planks. Look through our online store today!