A Guide to Refinishing Hardwood Floors
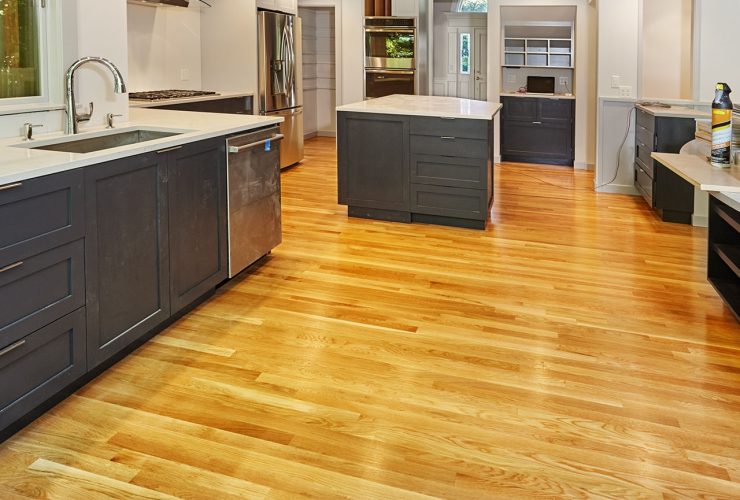
Hardwood floors are one of the best types of flooring to have in a house or office. But as time goes by, these floors will inevitably suffer damage. When this happens, it’s normal to consider a hardwood floor refinishing project.
If you have the knowledge, skills and experience, doing it on your own can be a personal project. And if you want professionals to handle your beloved wood floors, there are companies that offer refinishing services. It’s important to have a better understanding of what refinishing is and the benefits it gives to homeowners. With that in mind, here’s a complete guide to refinishing hardwood floors. Here we’ll discuss a planning strategy, cost estimates and how to prepare for the project.
Hardwood Floor Refinishing Guide
Refinishing may be a tough and tedious job but if you want to bring back the life of your floors, you need to exert time, effort and money. Whether you DIY or hire a professional, here are the steps to refinish hardwood floors:
Prepare all needed materials
When you finally decide to give your old hardwood floors some loving, preparing the tools and materials for refinishing is important. The important materials for this process are:
- Buffer
- Orbital Sander
- Sand Paper (30 to 40 rough grit)
- Sand Paper (50 to 60 medium grit)
- Sand Paper (80+ fine grit)
- Goggles
- Dust masks
- Vacuum
- Knife or Scraper
- Natural Brush
- Foam Applicators
- Hammer
- Masking Tape
- Pencil
- Wood Fillers
- Polyurethane Sealer
- Floor Stain

Assess the state of your hardwood floor
Before you proceed with refinishing, it’s important to check and assess the type of wood. True hardwood floors such as maple or oak are quite easy to refinish compared with pine wood floors. But with proper handling and refinishing, your floors will come out perfect in the end.
If you have engineered wood floors, it’ll be a challenge because the veneer on top of such floors comes right off after sanding. Old floors which have been refinished a lot of times in the past are also not good for another refinishing job.
Prepare area for sanding
Since the success of a refinishing project depends on planning and preparation, checking out the room beforehand is important. Remove the shoe moulding around the area. You can easily remove it by inserting a moulding bar between the trim and floor. Without a moulding bar, you can also use a putty knife as an alternative.
Another thing to do is remove all doors blocking the area. If there are objects protruding such as nails, either take them out or tap them back using a hammer. These items may damage the sandpaper during the process so it’s best to have a clear area before the sanding starts.
Related Article: How to Clean French Oak Floors
Perform the sanding process
Once everything is in place, it’s the right time to sand the floors. Three sanding rounds are your best bet to bringing out the beauty of your hardwood floors:
Round 1: Round Sanding
In preparation for sanding, you need a walk behind orbital and sandpaper of 30 – 40 grit. To avoid any damage, move it slowly, gently and evenly. Do not stop or hover on one area for two seconds.
Remember not to hit the baseboards and get to the edges of the room while refinishing the floors. Afterwards, use a hand-help sander on the edges. Press firmly without stalling the movement while sanding.
There may be lots of excess dust in the area. We advise cleaning the door to allow you to identify any imperfection in the flooring. You can always fix wood imperfections with wood fillers.
Round 2: Smoothing Rough Edges
By this stage, it’s difficult to determine the area you have already sanded. A solution is to draw lines across the area with pencil mark lines. Then, using a medium-grit sandpaper (along 50 – 60 grit), do a complete pass on the floors. You’ll see where you worked on as the pencil lines will erase as you move around. Continue and vacuum the area in preparation for the final pass.
Round 3: Complete Sanding Process
At this stage, you’ll be using 80 grit sandpaper. Some professionals opt to do two rounds to ensure the floors are as smooth as possible. There are those who first use the 80 grit on the first pass and the 100 grit on the second pass. Check all edges and vacuum excess dust.
Decide on what finish to use
This decision is the most crucial part of your refinishing project. Your choice of finish here determines how your hardwood floors will look. There are different types of finishes to use including oil-based satin finish, water-based finish or natural waxes or oils.
Oil-based satin finish hides most imperfections and showcases wood grain. This finish also gives that warm glow. The downside in using oil-based satin finish is that it has toxic fumes. Therefore, when applying the finish, make sure there is proper ventilation.
Water-based finish is best if you don’t want floors to become yellowish in colour over time. This type of finish dries clear and has less toxic fumes when compared to oil-based satin finish. Water-based finish also has lesser maintenance needs.
Homes with kids usually go for natural oils or waxes because these are nontoxic. You can always apply extra coating over time without having to sand the floors again.
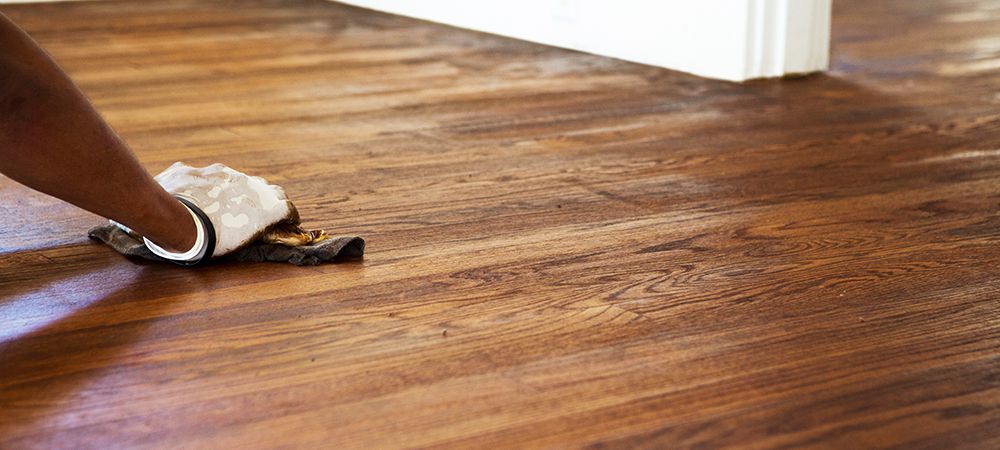
Apply chosen finish
Once you have the finish in mind, applying it to the cleaned, dried and sanded hardwood floors is next. Use a paint roller for water-based finishes while a lambswool applicator is best for oil-based finishes. A great tip is to apply away from the door to avoid being trapped in a corner at the end.
After applying finish to all the edges and nooks, let the floors dry for about 24 hours at least. As mentioned, water-based finishes dry up faster as compared to oil-based finishes.
Check the wood floors and if the grain has been raised by the finish, sand lightly. Dust the floors and remove dust before going for the second coating. Give at least a day to a week to completely dry up.
Related Article: 8 Things to Know Before Refinishing Hardwood Floors
Seek Professional Help In Refinishing Hardwood Floors
Refinishing hardwood floors is not as easy as it seems. If done wrong, the beauty of your hardwood floors will not stand out. If cared and maintained well, hardwood floors can last up to 100 years looking like new. Refinishing hardwood floors is one of the best solutions and if you are not confident to do it on your own, it is best to let the professionals take charge of your hardwood floors.
To bring out the best in your hardwood flooring, you may contact Three Trees Flooring at (416) 665-2624 to learn more about hardwood flooring and find out its different varieties.