Installing Engineered Hardwood Flooring
When buying or building a new house, one of the most important aspects that people should consider is the type of flooring that will be used. There have been so many developments in the flooring industry these days; people get confused in choosing the best option that would fit the design of their houses. People need to consider multiple factors when picking a type of flooring.
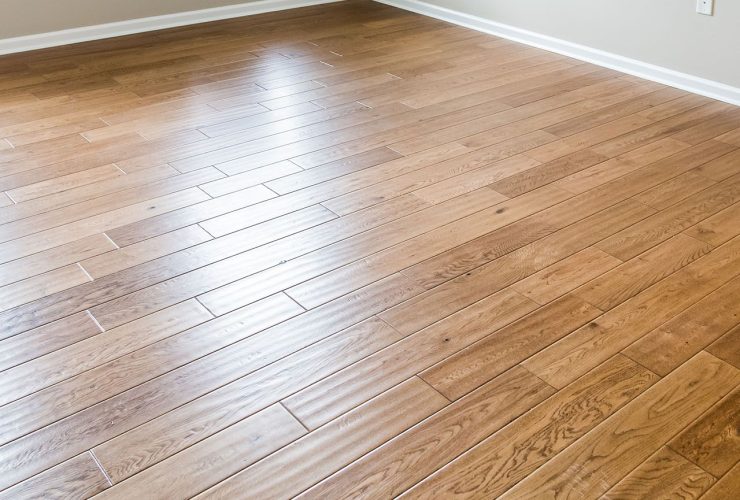
The cost and quality of the flooring materials are important factors that should be first considered before anything else. Engineered hardwood flooring is one of the choices that has a relatively higher price but also has a very high durability and strength against heavy foot traffic. People should get to know about this type of flooring and how it is installed. Knowing this information may help people understand if their flooring panels are being installed properly.
How To Install Engineered Hardwood Flooring Panels
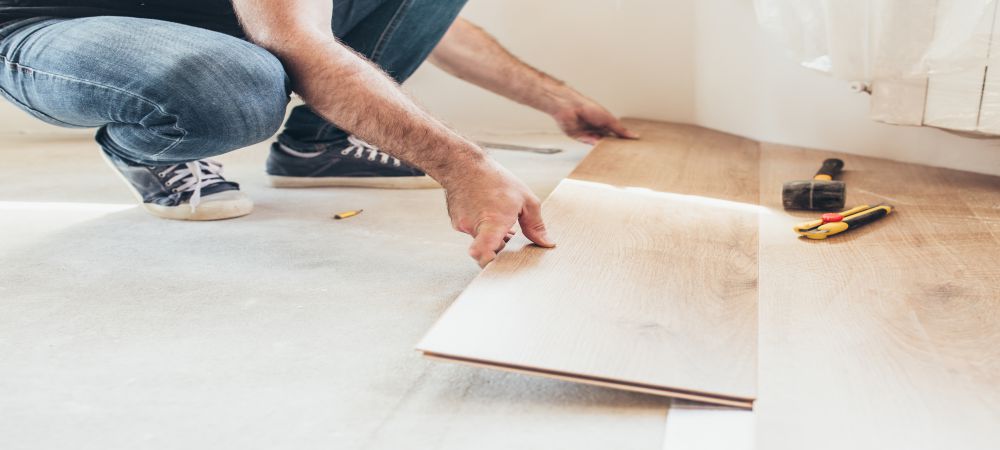
For those who feel that they are capable of installing the flooring panels themselves, always make sure that you use safety equipment if needed. Wear protective gear to prevent any injuries or accidents. Also, you should ensure that you have purchased enough flooring panels to fit the whole area. The engineered hardwood flooring panels must be left for 3 days to acclimate with the current environment.
This can be done by sticker stacking them. This will allow for air to pass through all the flooring panels. Failing to give the engineered hardwood flooring panels some time to acclimate can have a serious negative impact in the future. They may warp, rise, or shrink after they have been installed. You may refer below for the common methods to install engineered hardwood flooring panels:
Nailing or stapling method
o This is the most common method to install engineered hardwood flooring panels.
o This is the best option if the subfloor is using plywood or OSB.
o Before placing the flooring panels, you should first prepare the subfloor. The subfloor must be properly cleaned to free it from any debris or dust. It is best to sweep and vacuum the subfloor.
o Place tar paper over the cleaned subfloor. Staple them down to secure the paper on the subfloor.
o You should run the flooring panels parallel to the longest wall of the room. Most manufacturers recommended that the tongues of the flooring panels should face against the wall while the groove should be facing into the room.
o Attach the flooring panels by sliding them using the tongue and groove. You should install one row or course at a time.
o You should put in a stapler every 6” to 8”. A pneumatic stapler should be used to make the job easier. You should drive the staples through the groove. 45 degree angle must be used when applying the staple.
o Cut the flooring panels as needed to perfectly fit the area.
o Continue the process for the next rows.
o When you reach the last row, there is a chance that it will be difficult for you to use the stapler because of the wall acting as a hindrance. If you are having such an issue, you will need to use a finish nailer to directly nail through the face of the panels. Instead of doing this every 6” to 8”, you should do this every 12” to 18”.
o You can add a baseboard to hide the seams where the flooring panels meet the wall of the room.
Floating method
o You may install the flooring panels without removing the baseboards.
o It is highly advised that you run the flooring panels parallel to the longest wall of the room.
o You will need to trim the bottom of the door casings with a saw like a flush-cut dovetail saw. This will be needed as you will be sliding the flooring panels underneath the casings. To get the actual height that needs to be cut, you can lay down foam underlayment and a flooring panel with its face down. This is crucial so that you do not accidentally hit the topmost veneer with the saw.
o After cutting the bottom of the door casings, you should vacuum the room to remove any dirt on the floor.
o Place 1 layer of foam underlayment all over the floor. Trim as needed to fit the room.
o Use duct tape to seal the seams of the foam underlayment.
o You can start installing the flooring panels. Make sure that the tongues of the flooring panels are facing away from the walls. Put spacers along the walls. Cut any of the panels as needed to perfectly fit the area.
o When connecting the flooring panels, make sure that the grooves of a flooring panel will perfectly fit the tongue of the flooring panel beside it. Add glue at the grooves of the flooring panels before fitting them to the tongues of the panels beside them.
o Place a pry bar between the end of a flooring panel and the spacer. Lever the joint. Push down the flooring panel.
o Clean any excess glue with a damp cloth.
o Continue installing the next courses. Make sure that you use the piece of flooring panel left after cutting it when installing the end of the previous course. You can use the leftover piece as long as it is 8” or longer.
o After four courses, place a painter’s tape on the joints of the flooring panels between the current and previous courses. This is needed to keep the joints tight while waiting for the glue to cure.
o When you arrive at the last course or at the end of the room, you must carefully measure the width needed to fit the flooring panels. Cut the flooring panels based on the width you measured.
o Installing the flooring panels at the last course will take patience. You may need to use a pry bar to secure the flooring panels to the panels beside them. Remove the spacers on the last wall so that you have some wiggle room. Use the pry bar to pull tightly the flooring panel to the one beside it.
o Wait for the glue to cure for at least 12 hours before removing the remaining spacers and the painter’s tape.
o You may now consider installing molding.
Gluing method
o This is the best option if the room or house is using a concrete subfloor.
o The concrete subfloor will be prepared before the installation of the flooring panels. Leveling may be done as needed.
o The area will have to be thoroughly swept and mopped. The area must be left overnight to dry out.
o You should be familiar with the drying time of the glue that you will be using during installation.
o The best way is to prepare 2 flooring panels by applying wood glue to the groove and tongue for each of the panels. Apply a small amount of adhesive on the concrete subfloor using a notched trowel. It is best to consider the length and width of the prepared flooring panels when applying the adhesive to the subfloor.
o Once adhesive is applied, quickly place the prepared panels on top of the area with the adhesive. You must apply pressure to each flooring panel for the glue to properly adhere to the subfloor.
o Continue preparing the panels, applying adhesive, and quickly installing the prepared panels. Do not forget to apply pressure as you install the flooring panels.
o After all the panels have been installed, it should be given at least 2 days before the flooring panels can be stepped on.
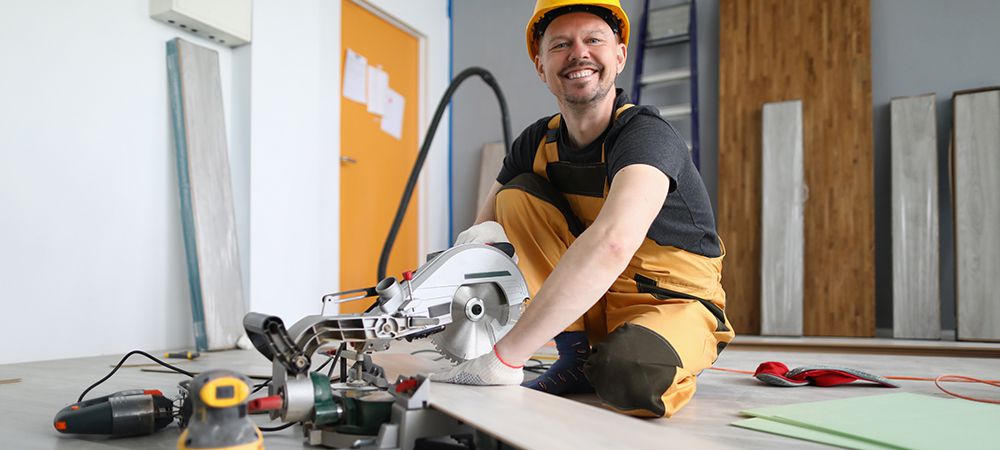
Professional Installers Should Do the Job for You
Looking at the steps for the different methods of installing engineered hardwood flooring panels, it may look easy to do. You may run into problems as you start with the installation process. You need to have the proper gear and tools to finish the job. Working with nails, staplers, saws, or hammers may pose risks related to injury. Also, you have to consider that when you need to cut some of the flooring panels that you have purchased, possible errors in computation will have a huge impact that might render some of your flooring panels useless. It is very easy to make a mistake during the installation of the flooring panels, which will just waste your resources. When it comes to the installation of flooring panels, it is highly recommended that you get in contact with a reputable flooring installer or a contractor that offers flooring installation.
Professionals will be able to evaluate the current situation of your house. Consulting with a flooring expert will help you avoid purchasing unnecessary materials. Also, flooring experts have the proper tools and updated methodologies to properly prepare, cut, and install the flooring panels. Always remember that having hardwood flooring installed for your house is an investment. Paying for the services of flooring experts to fulfill the job is very cost-efficient. If you need help installing engineered hardwood floors for your home, you can contact Three Trees Flooring at (416) 665-2624.