Bona – The Best Coating System for Your Wood Flooring
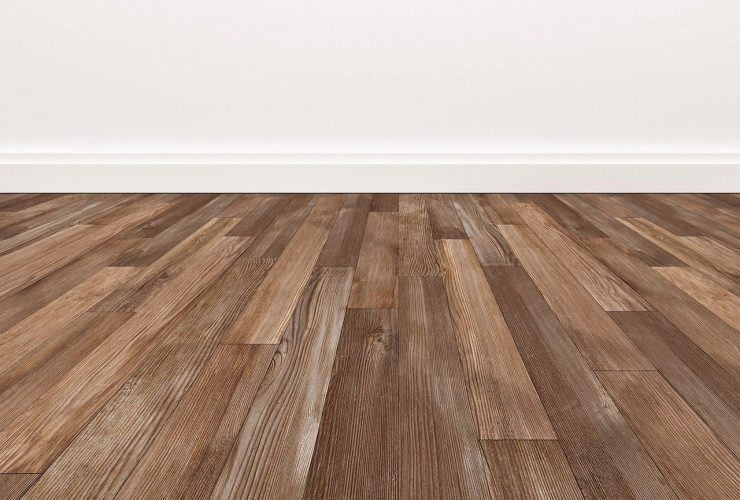
Wooden flooring, in particular, is known for its durability and longevity. Wooden floors can retain their appealing appearance for years with the appropriate attention and upkeep. And one way to ensure this long-lasting flooring beauty is by using a suitable coating system.
The Bona coating system is a collection of finishing and sealing variants. They’re excellent for you if you’re installing a new floor or undertaking periodic sanding and refinishing.
Selecting a coating for wood flooring will be guided by criteria like expected foot traffic and desired aesthetic qualities. And you definitely want your floor to stand the test of time in all ramifications.
For these projections, we’ll focus on the Bona coating system and discuss its top finishing variants and sealers.
Let’s get into it!
What To Know About Bona Coating System
Bona finishes, when used in tandem with good planks, provide the highest level of protection for floors in any setting, whether in a home, office, or commercial establishment.
Another part of the Bona coating system is the sealers. Hardwood floors benefit from the penetration and uniform appearance of Bona sealers. In addition to enhancing the aesthetic appeal of Bona finishes, these sealants also enhance the performance of the finishes by increasing their depth, build, adhesion, and overall longevity.
Combining these two high-quality coatings gives you superior flooring protection and more alternatives for flooring designers, builders, and homeowners.
Bona Sealers variants include the following:
- Bona NaturalSeal
- Bona NordicSeal
- Bona Classic Seal
- Bona AmberSeal
- Bona IntenseSeal
Meanwhile, the Bona coating system finishes include the following:
- Bona Traffic Naturale
- Bona Traffic HD
- Bona Mega Clear HD
- Bona Mega
- Bona Novi
- Bona Traffic Anti-Slip
- Bona Traffic
Here, we’ll focus on the most popular variants of the finishes to explain why you should use Bona wood coating.
Can Bona Wood Floor Finish Function Independently on Unfinished Wood?
Bona suggests using sealers before finishing your wooden floor with their finishes. While its final coat(finishing) may be a sealant in some situations, a dedicated sealant adds density and strength to the finishing. It also provides an appearance similar to that of floors coated, which many prefer.
Also, wood’s tannin will react to most finishes. But, if you use a sealer, that effect is mitigated, allowing the stain’s rich colour to remain.
Absorption of the finish into the wood may cause other issues, such as partitioning and the bonding of boards. Therefore, another advantage is that a sealer prevents the finish from penetrating the wood.
How Many Coats of Bona Wood Floor Polish Should Be Applied?
Over time, a single layer of finish can be worn down to the raw wood, causing significant damage that would require re-sanding rather than re-coating.
Therefore, a floor will need at least a seal coat and two finish coats. As a result, you can rest easy knowing you won’t have to worry about repainting for at least ten to fifteen years.
Mega One Wood Floor Finish by Bona
Like its predecessor, Mega One is a one-component fine finish that doesn’t yellow or get foggy when used on lighter floors.
Using Bona Mega One Hardwood Floor Finish
Mega One is one of Bona’s newest and most user-friendly floor finishes. Its creation was to make the classic Mega finish even more accessible. In the same way that the initial Mega had no excess materials, the new Mega One has no excess materials because it’s a single-component finish.
It’s easy to end up with a batch of unusable two-component wood floor finish if you mix it wrongly or if you have any leftover after a job.
The Mega series of finishes just requires one application, so you can move on to other projects without having to redo the coating.
A Mega One abrasive easily cuts through the flooring, resulting in a stronger construction. As a result, you won’t have to sand in between coats as often.
Mega One smooths out quickly and effortlessly, ensuring that your subsequent coat will stick. In addition, rapid abrading allows Mega One to reach the powder stage instantly.
How are Bona Mega and Bona Mega One Different?
Mega and Mega One each have their own set of valuable features. But Mega One offers a simpler product that won’t turn amber over time. In addition, the finish is transparent, so it won’t dull the appearance of the flooring in lighter shades.
Bona Mega One wood floor finish can withstand heavy foot traffic in homes. However, a concerned homeowner should consider upgrading to Traffic HD rather than Mega One due to the former’s improved scratch resistance.
Meanwhile, it’s possible to apply a layer of Traffic HD over Mega One the next day after allowing the latter to dry.
When will Mega One and Traffic HD be Dry Enough?
Drying times for Mega One and Traffic HD are situational, just like for all finishes. The drying process is faster if there’s excellent airflow or the day’s humid.
The whole cure period for Mega One is only five days, whereas the average for a water-based wood floor finish is seven days. After three to four hours, you and your household can walk on the floor with socks. Also, furniture can return to its former positions.
However, you must always raise the furniture across the finished room flooring. Even if the floor has entirely dried, dragging heavy objects across will cause scratches.
For How Many Coats Of Bona Traffic HD should you aim?
Two coats of finish are recommended by Bona, as with other Bona coating system finishes. However, some homeowners who are highly concerned about scratches may benefit from applying a third coat.
Being a two-part system, many contractors who use Traffic HD forget to add the hardener before coating the floor. If you are in those shoes, wait for it to dry completely before attempting screening or re-coating.
Please also note that some problems can develop if you fail to shake the hardener before adding it.
What Kinds Of Surfaces Does Bona not Recommend Using Their Wood Floor Finish On?
As long as it’s completely dry, you shouldn’t have any problems with surfaces other than acrylic polishes and hard waxes. Scuff the floor a little before painting it with Traffic and the others.
Related Article: Long Planks Flooring – Pros & Cons
Complete Step By Step To Using The Bona Coating System
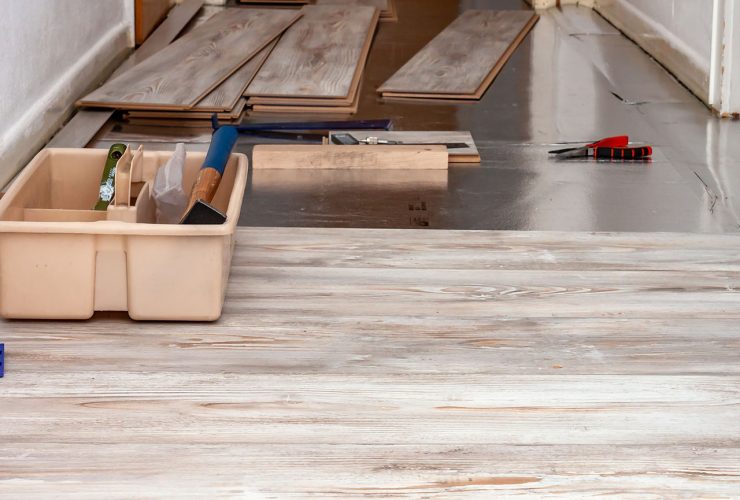
Once you sand your old wooden floor or buy unfinished wood flooring, the following action is finishing. The following is a detailed guide on applying the Bona Coating system:
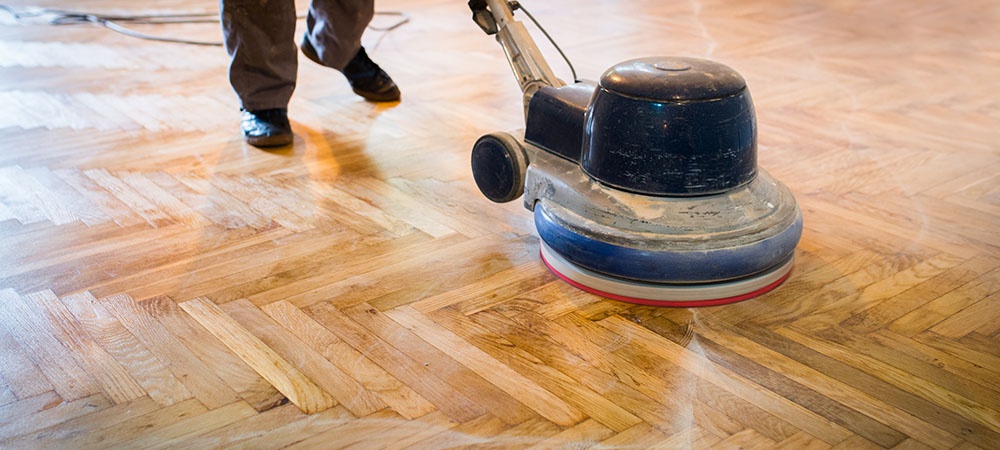
1. Vacuum Thoroughly.
Make sure there is no dust, debris, or particles on the floor by giving it thorough vacuuming. Shop vacuums and canister vacuums with wands are superior to traditional upright vacuum cleaners for hard floor surfaces.
2. Set Room Temperature To 60 Degrees
Maintaining a temperature of 65-70 degrees Fahrenheit throughout the drying and curing process is essential. Therefore make sure at least one window in the area to be coated is open 3 inches or more.
Turning on a fan such as a bathroom vent fan in an adjacent room can also increase air exchange and maximize the cure rate.
3. Shake it Up and get The T-bar Ready
Stir your Bona Seal jug gently before opening the seal. Remove the top and place the plastic strainer into the jug.
Thread the metal t-bar onto your threaded pole and slide on the coater cover. Always be alert to deal with drips by keeping a dry, clean towel in your pocket.
4. Fill in with Pad Painter
The wall across from the exit should be your starting point because it’s perpendicular to the wood’s grain. Make a pool about 3 inches from your starting wall and 5 inches wide. Pad in first, but don’t cut in the whole room just yet!
Coat a 6-inch border around your beginning wall and another 3 feet around the walls that surround your beginning wall.
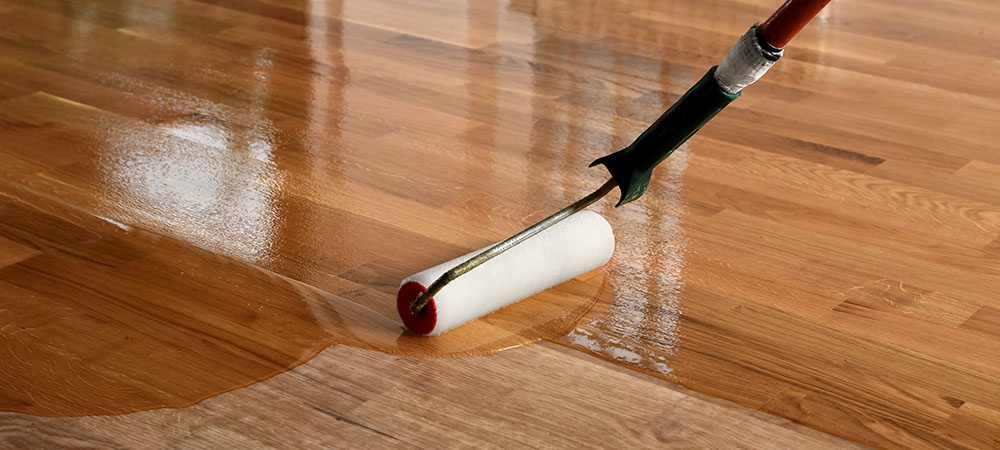
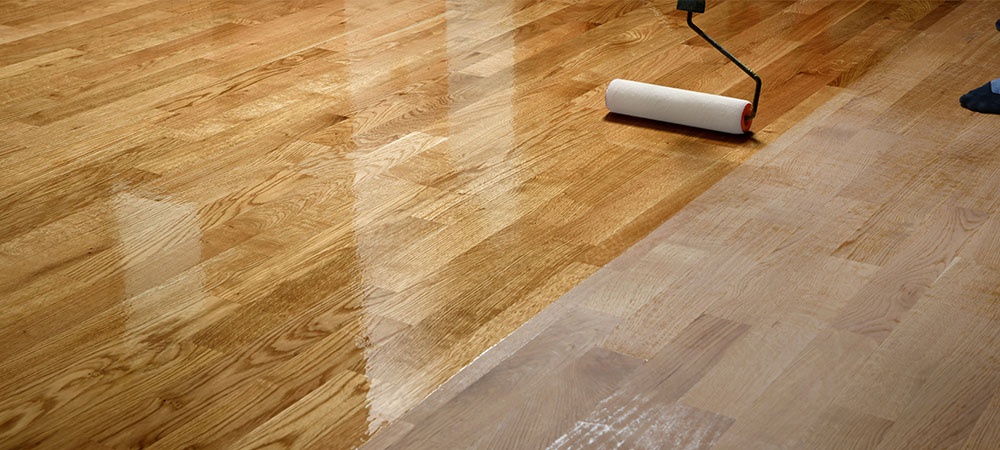
5. Lightly Press the Dipped Applicator
Dip the end of your t-bar coater into the puddle of polyurethane and then push it lightly on the floor.
Repeat this process until the finish applicator looks evenly filled but not dripping.
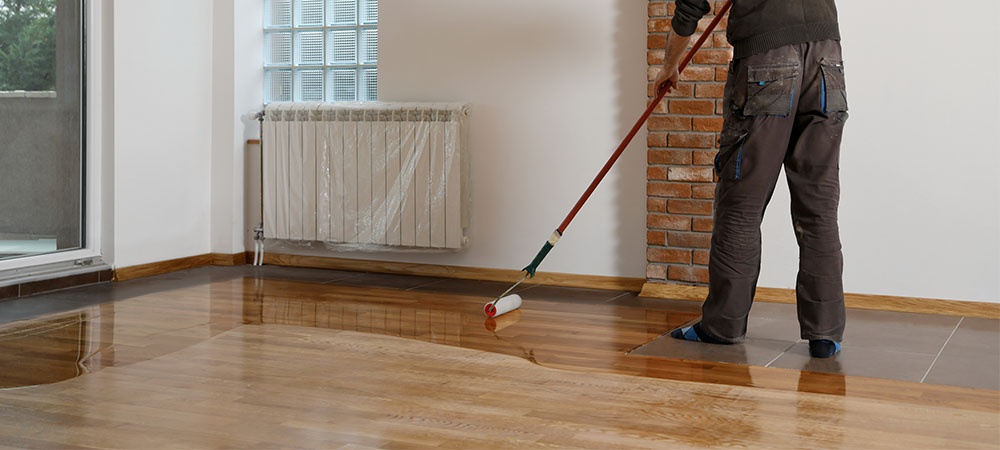
6. “Snow-plow” the Coating In Front Of The Applicator’s Tip
Starting at the upper corner of the cut-in area, drag the t-bar at a 30-degree angle while directing the centre of the 18-inch coater at the polyurethane puddle. This “snow-plows” the finish in front of the applicator head.
Without stopping, keep moving in a straight path until your t-bar reaches the cut-in area in the far wall.
You can spread the correct quantity of polyurethane with just the weight of your two hands on the t-bar, so there’s no need to lean on the stick.
7. Double Back On Your Most Recent Pass
A T-bar can function to remove surplus liquid from a polyurethane-soaked floor if you gently push it on the surface. After leaving the cut-in zone, overlap your last pass and pull the puddle upwards in a straight line parallel to the base wall.
Since the t-bar applicator leaves a consistent polyurethane coating after each pass, the puddle will dry up over time, provided the painting’s execution is excellent.
8. Try Cutting In Three to Four More Feet
When you reach the end of the first cut-in region, rest the t-bar with the applicator in the wet polyurethane. Afterwards, cut in another 3 to 4 feet along the walls at the top and bottom of your new coating zone. This action will ensure you don’t leave a permanent mark on the flooring.
Pour a new line of polyurethane if more is required. Keep switching between the t-bar and the pad painter to get within three feet of the last wall.
9. Coat Your Last Departure Stripe In Portions
Cut in along all remaining walls with your pad painter, excluding the exit. Mop the polyurethane on in a back-and-forth motion, starting at the corner farthest from your entrance and working a 5-foot section at a time.
Then, press the t-bar away from you as you progressively lift it off the ground to blend the coated part into the cut-in zone. Finally, follow the exit door backwards, connecting the dots between previous sections.
It’s time to use the paint pad for the final touches. Take the pad off the pad painter and the coater off the t-bar, and soak them in water until you’re ready to paint again. They won’t be able to apply polyurethane if they dry out and crust over properly, so you’ll have to replace them.
10. Time it so That It Dries In For Hours, but no more than 24
Before applying a second Bona coat of sealer, ensure the first one is dry enough to walk on. This drying should take three to four hours at a temperature of 65 to 70 degrees and with enough ventilation.
After 24 hours, it’s likely dry enough to walk on. So you can apply your first finishing layer.
You may be asking, what If the dried product is rough? This instance is normal. After using a water-based finish, the finish’s hardening around the grain’s heightened particles may leave the surface feeling rough.
Don’t sand the coating if you’d love to sand that back for a smoother surface. Instead, let the first Mega or Traffic HD coat dry for 12 hours. When sanding the surface, it’ll be considerably tougher but less likely to gum up and grip.
11. Apply your First Application Of Mega Or Traffic
Spread your first coat of Mega or Traffic HD using clean tools and the knowledge you gained in stages 4–9. The minimum wait time is four hours, while the maximum is 48. If the floor feels smooth or excusably rough, you can apply a second coat of Mega or Traffic right away.
If the initial coat of Mega or Traffic is too rough to walk on, you can abrade it with 150-180 grit using a sheetrock screen or flooring buffer, wait 12 hours, vacuum, and then wipe with a towel moistened with water. Once the water dries, apply your second layer of Mega or Traffic.
If you don’t want your applicators to dry out and get flaky, rinse them well after use and store them in water.
Catalyzed Traffic HD has a pot life of only four hours, so only catalyze as much finish as you need for a single coat.
12. The Final Step Is To Use Either Mega or Traffic for the Top Coat
Apply the final coat of Mega or Traffic four hours after the previous coat has dried sufficiently to be walked on without leaving a footprint.
Don’t walk on the floors for at least 24 hours after the final coat of polyurethane has been applied, and don’t lay large area rugs back on the floors for at least two weeks.
Benefits Of Using The Bona Coating System
The following benefits are part of the reasons the Bona coating system is the best for your new hardwood floor planks:
Top-Rated Floor Covering Protection
Its moniker implies that the Bona coating system will easily withstand heavy foot activity. The finishes and sealants are the secret combos of places that get a lot of use yet still look good after a long time.
Invisible Varnish
It shields the floor from damage without hiding its authentic colour or grain. As a result, preserving the decorative elements that make the interior stand out.
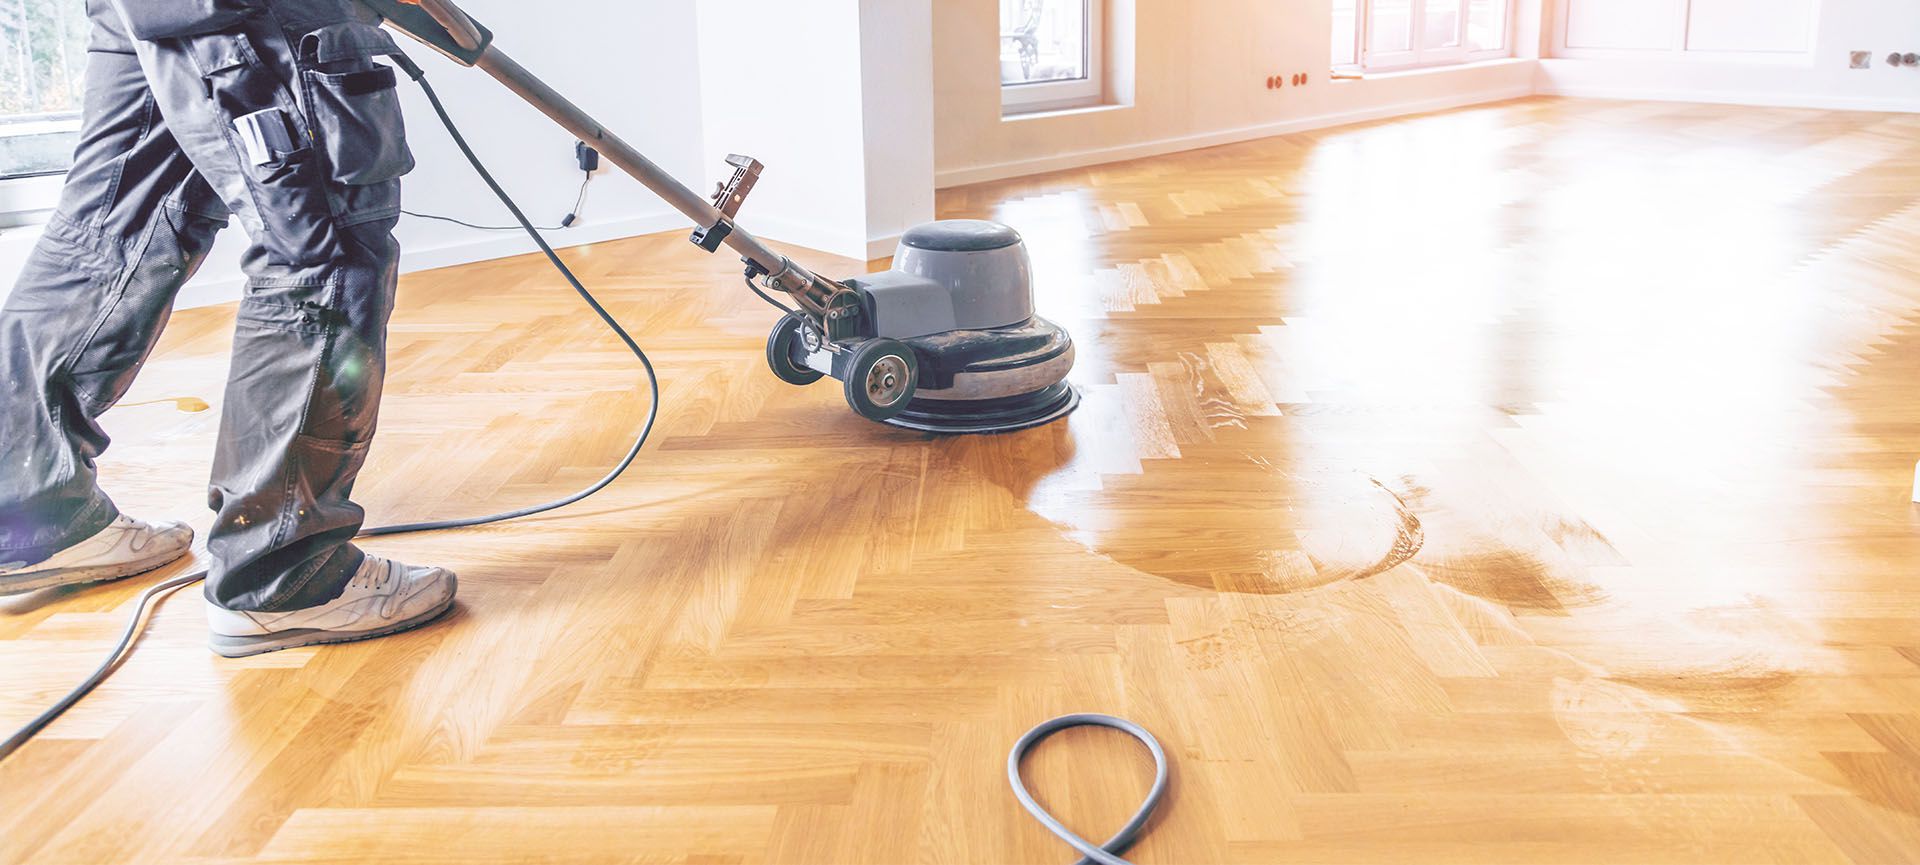
Quick Dry Time
Bona wood coating system makes it easy to clean a floor. This trait is one of the features of the Bona wood coating system. It makes it popular in airports and hotels, where minimizing downtime is a top priority. The floor can undergo treatment and resume traffic 12 hours later in these places.
This timeframe significantly reduces compared to the days one would wait using traditional lacquers.
Protects the Purity Of The Air Inside A Building
When deciding how to treat your wood flooring, it’s essential to consider the product’s safety rating. In particular, this holds strength in relation to the various forms of emissions at play. In addition, you should use a coating system that won’t endanger the family living there.
This consideration went into the development of the Bona coating system products. Bona places a premium on maintaining healthy indoor air quality. To further ensure product quality, impartial third parties conducted extensive testing.
Non-yellowing
Why again should you use Bona wood coating? Yellowing over time is a common complaint with traditional floor treatment. These drawbacks are usually a result of sunshine’s effects on the chemicals used.
Due to this reaction, the flooring surface’s initial allure eventually fades, and it must be sanded down and re-polished. However, the Bona coating system eliminates this concern.
Their formulation prevents your floor from yellowing; thus, the attractiveness stands the test of time. Combined with the floor’s increased longevity from the treatment, you can go longer without having to perform any serious maintenance.
It’s Simple To Use
The Bona coating system is simple to spread down over the floor. The lacquer is easy; combine it with the Bona sealant and keep working.
Related Article: Multi-ply Wood Engineered Flooring: Pros and Cons
Summary
There are numerous coatings for wood flooring. But the Bona coating system stands out with its finishing and sealants.
Not only will your floor be highly appealing to visitors to your residence. But your flooring will also last very long.
However, you need to get original wooden floors first to ensure your finishing does a perfect job. And our wooden flooring store can help you with that.
Three Trees Flooring offers the finest collection of hardwood flooring planks, each one designed to pass the test of time, quality and design.
Contact (416) 665-2624 to order now or look through our online catalogue.